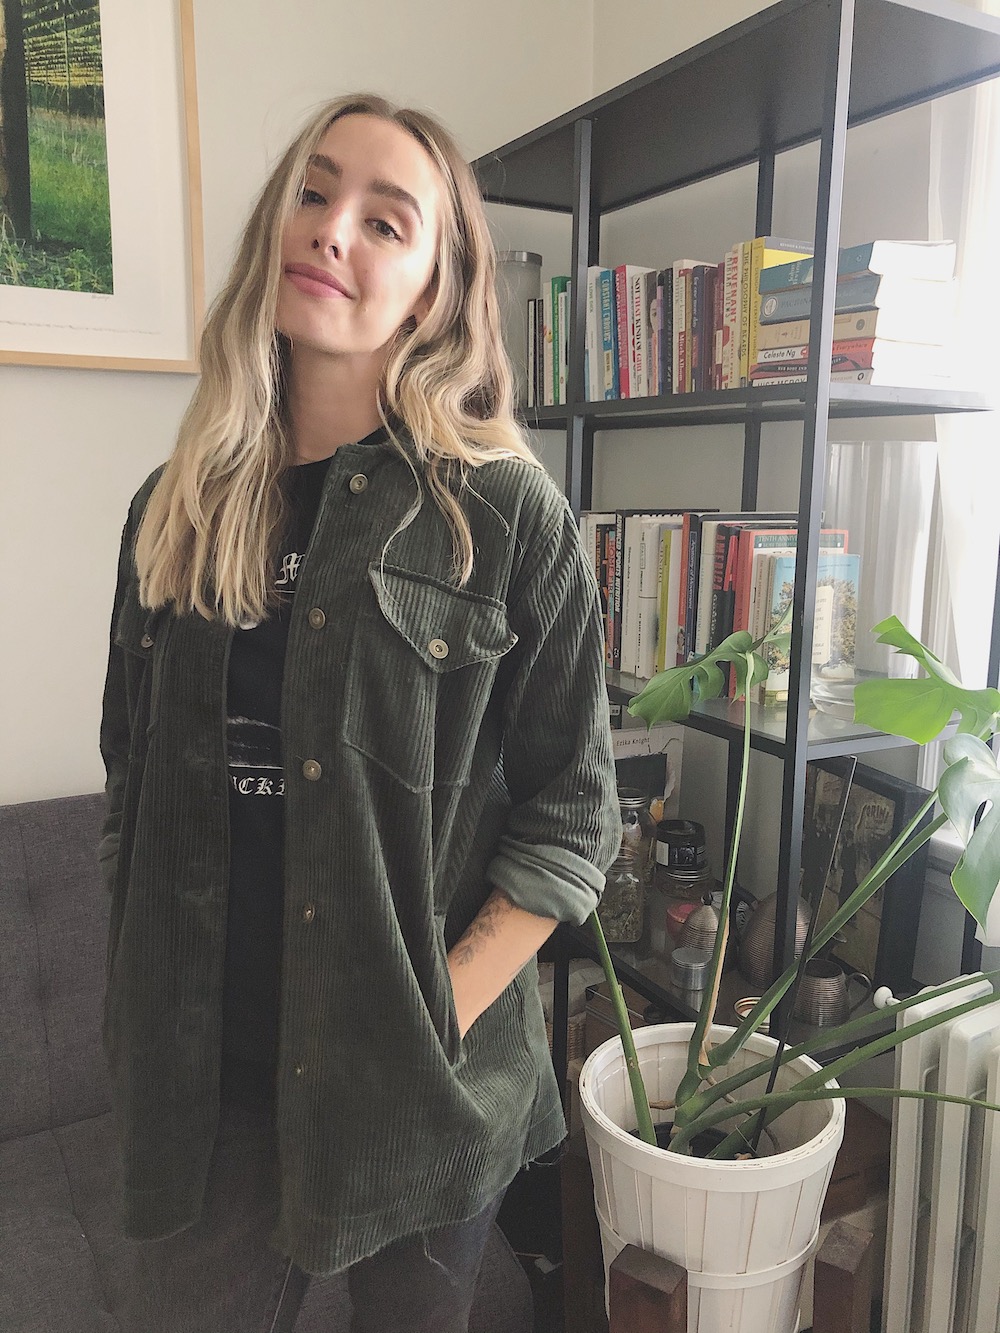
Hello Paola!! Even though the temperature in Toronto keeps going down, I’m so happy I managed to squeak this project out before the weather became too ridiculous to wear a corduroy jacket. I knew going in to fall that I wanted to make a rip off of a RTW Zara jacket I saw last year, but couldn’t find quite the right pattern. It wasn’t until I saw someone on Instagram make a corduroy version that I was inspired to make some of the mods I would need.
The Paola Workwear Jacket is a free pattern from The Fabric Store (click here for instructions and link to pattern). The construction is laid out very well and the PDF pattern allows you to print only the size you need, saving so much time. Give the instructions a full read through before starting or printing, since some of the instructions are linked to on different blog posts.
I found non-stretch corduroy on Club Tissus and the donut style buttons at a sewing store in Toronto.
Top Pocket Modification: Change to a V shape, add pocket flap
To create the V shape, l folded the rounded bottom corners of the pattern over, accounting for seam allowance. I traced it a couple of times to make sure I liked the shape.
To make the flap, I found this YouTube video that walks you through exactly what to do. I used the bottom third (roughly) of the same pocket pattern to create the flap, which ensured that I had the same width flap and the same V shape.
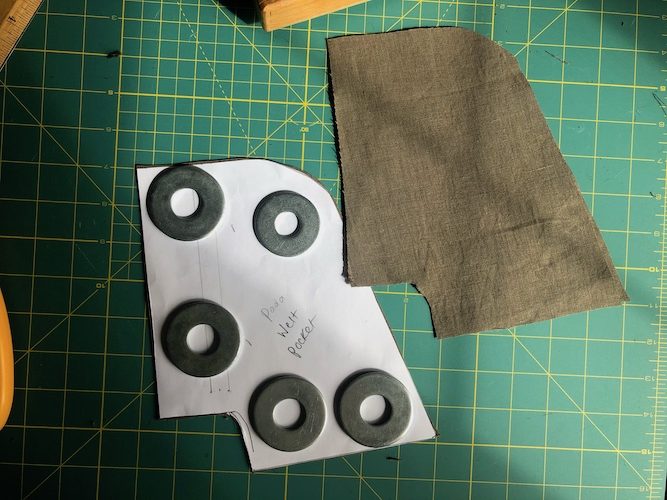
Bottom Pocket Modification: Change to a welt pocket
I found a YouTube video that showed me how to insert a welt pocket. However, the video was using a pattern that already had a welt pocket as part of the design. There was a bit of freestyle here. First, for the placement, I decided to use the Paola bottom pocket markings as guides, and they’re already around waist level. I cross-referenced by looking at my jean jacket pockets to make sure the distance between the top patch pocket and bottom welt pocket made sense. I also measured the width of the jean jacket’s welt pocket piece to make a little pattern.
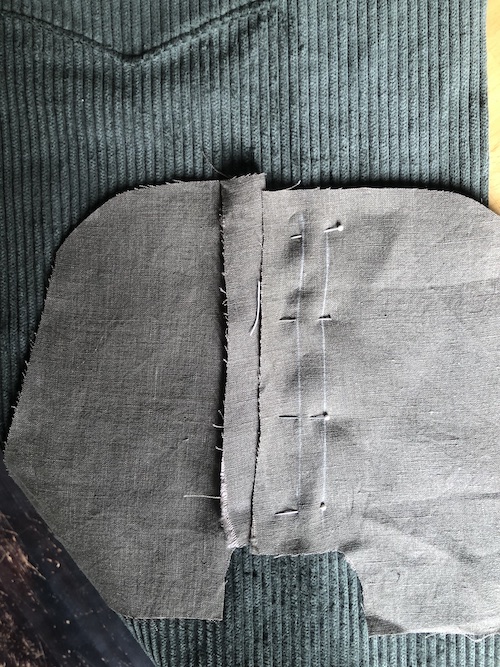
Once I had the placement and the pocket piece ready, the rest of the video is easy to follow along until you get to the pocket bag. I drafted a pocket bag based on what the video’s bag looked like (note: make them bigger next time!). I had some olive green linen scraps that were great for this. And then from there, I followed the video till the end. For my first welt pockets (self-drafted, no less), I’m really happy with how they turned out.
Hem Modification: Lengthened, leave raw, add top stitching
These mods don’t need too much explaining, but I knew I wanted the jacket to hit a bit lower than the pattern pieces suggested they would, so I lengthened it by 2”, left the hem raw (per my inspo jacket), and added some topstitching about 1.5” above the hem. I think it kind of makes the jacket looks a bit more “lived in”.
The buttons were quite a pain to install since I don’t have the right tools to do it. If you’ve made jeans before you’ll probably already be familiar, but this Closet Case video was helpful in getting me familiar with the technique.
Incredibly cute and charming all on its own, no mods, I can definitely see myself making another one in the spring.